Acquisition
The acquisition workflow starts by connecting to a WILD device in WILD_console and ends with exported recording folders from the device microSD card.
The WILD device records high-bandwidth neural and multimodal data locally. BLE is used for discovery, synchronization, configuration, status, selected preview, and control commands rather than continuous full-bandwidth data streaming.
WILD_console is the stable public control path today. An iOS-based WILD controller app is in development and is expected to provide more consistent BLE discovery, connection, and low-bandwidth control performance than typical PC BLE adapters. The iOS app is a controller path; full-resolution recordings remain stored on the device microSD card.
Wireless Connection Model
The WILD device can be connected for discovery, synchronization support, parameter review, selected preview, and command delivery. After setup and timing coordination, local recording does not depend on continuous full-bandwidth wireless streaming because the device writes the full dataset to microSD.
For multi-device sessions, keep continuous BLE connected only for devices that need live preview or online commands. Devices that only need local logging can be configured and synchronized first, then managed with the planned start, stop, external I/O, and export workflow.
Routine Operation Map
Most first-session work uses four button groups:
| Stage | Main UI area | Primary click |
|---|---|---|
| Discover and connect | Online tab, Device List | , select the WILD device, then |
| Start recording | Online tab, recording controls | |
| Stop recording | Online tab, recording controls | |
| Export data | Offline tab, File panel |
Closed-loop settings, camera controls, stimulation parameters, GPIO options, and advanced panels are optional experiment-specific controls. They are easier to configure after the basic connect-record-export path is working.
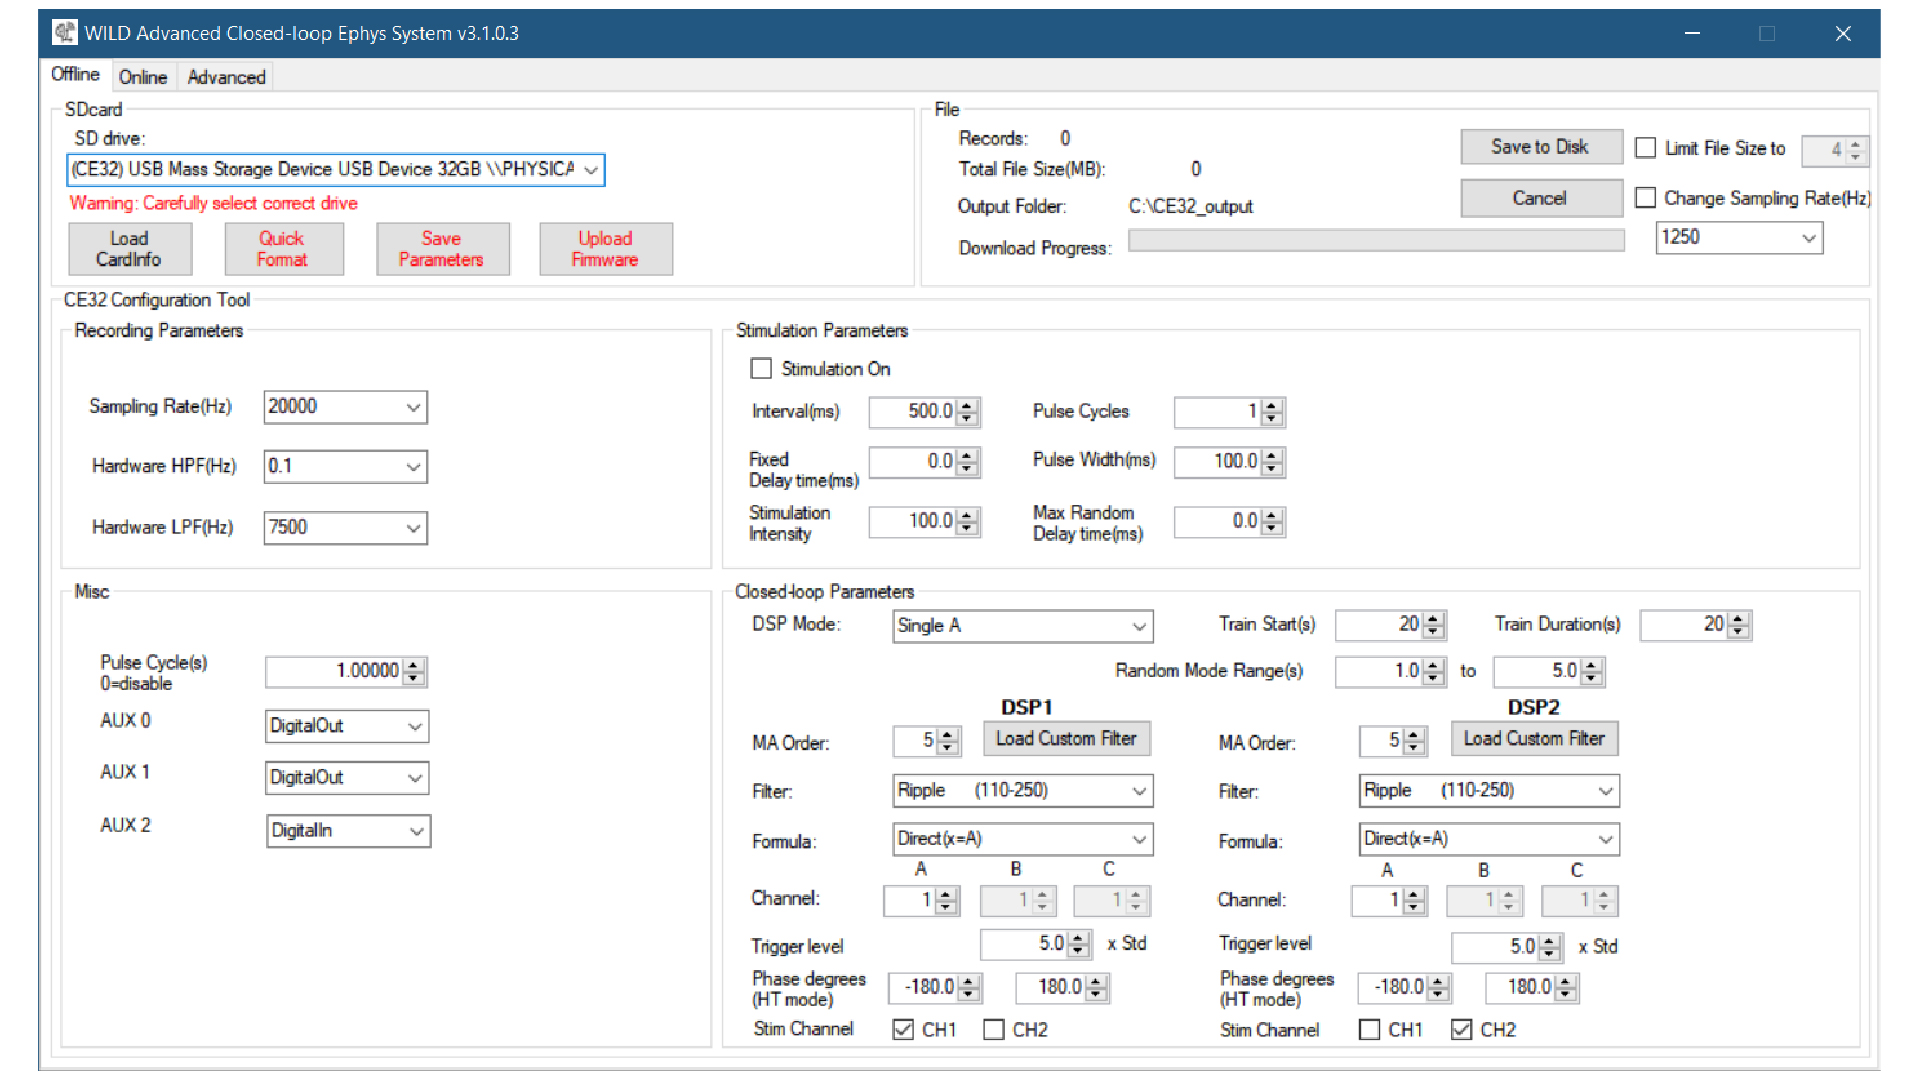
Typical Session
- Start WILD_console.
- Scan for the WILD device.
- Connect over BLE.
- Read current parameters and change experiment-specific settings only when needed.
- Configure sampling, closed-loop, camera, stimulation, and GPIO options as needed.
- Start local recording.
- Monitor selected preview and state signals.
- Stop recording.
- Export data from the SD card.
- Check duration, file size, representative channels, and sync markers before treating the session as complete.
Multi-Device Sessions
Use one validated release set across all WILD devices. Assign the intended master/follower roles before the session, and keep the same wiring and start order used in the dry run.
For camera workflows, test the external TTL or camera sync path during a short continuous run and confirm that frames, event pulses, and recording files stay aligned before using the setup with animals.
After export, compare recording durations, file sizes, and sample counts across devices. A successful merge should show stable offsets across the recording; jumps, drifting offsets, or one logger ending early should be investigated before the data are treated as synchronized.
Exported Files
The exported folder can include:
amplifier.dat.analogin.dat.digitalin.dat.adc.dat.misc.dat.supply.dat.time.dat.info.rhd.- WILD parameter binary.
See Data Format for field descriptions.